
Blog by Brittany Greer
https://brittanydoeslife.net/
@brittanydoeslife @brittanymaeksfood
DIY Collagen Rich Grass-fed Beef Bone Broth
It’s faaaallllll! I absolutely adore this time of year. We get to start wearing more layers (scarves, beanies, YES) the leaves are changing into beautiful sunset colors, and the light of day is gorgeous at all times. With fall comes the desire to nourish the body. We tend to turn inward when this time of year hits because of weather, length of daylight, and our general inclinations to do so. Fall is a great time to start whipping out the crockpot for hearty soups, chili, and my favorite – BONE BROTH!
I’ve had several requests from a lot of you on posting a comprehensive guide to making bone broth, and I’m finally doing it! So, please follow along if you’d like to know my broth ways <3.
Step 1: Find a good source for your bones
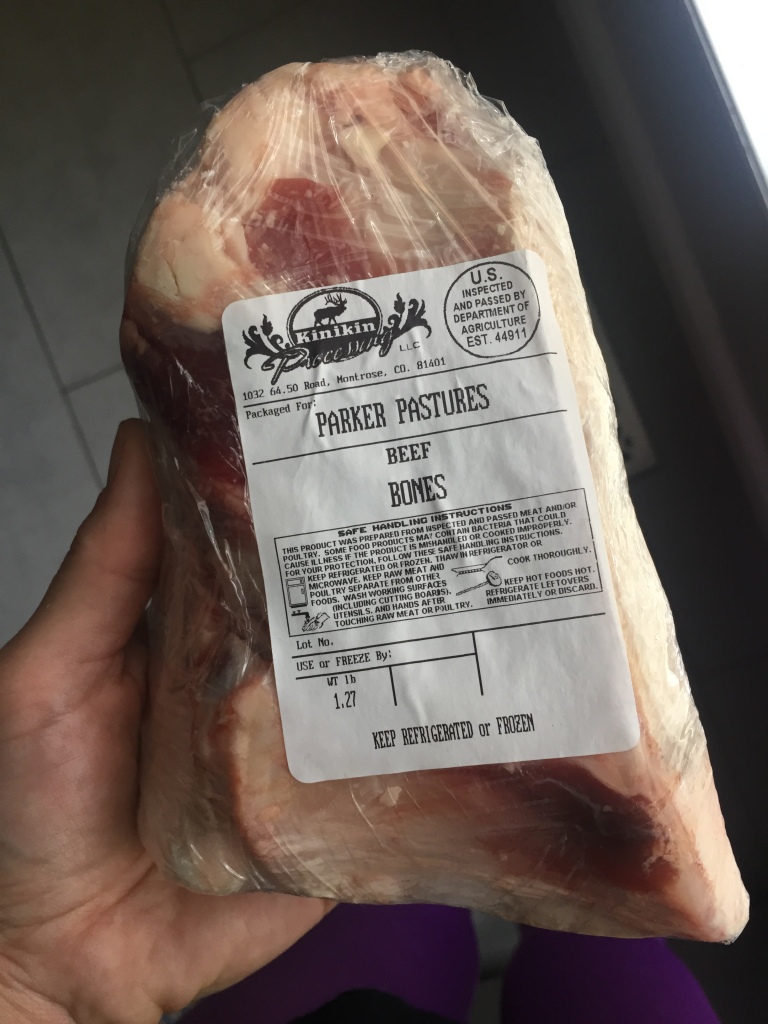
Quality of ingredients is always of importance no matter what you’re making, bone broth is no exception! Find a good source of preferably local, grass fed, pasture raised animal bones. On the front range here in Colorado, we use a company called Pasture Provisions for almost all of our animal protein & bones.
Step 2: Blanch the bones
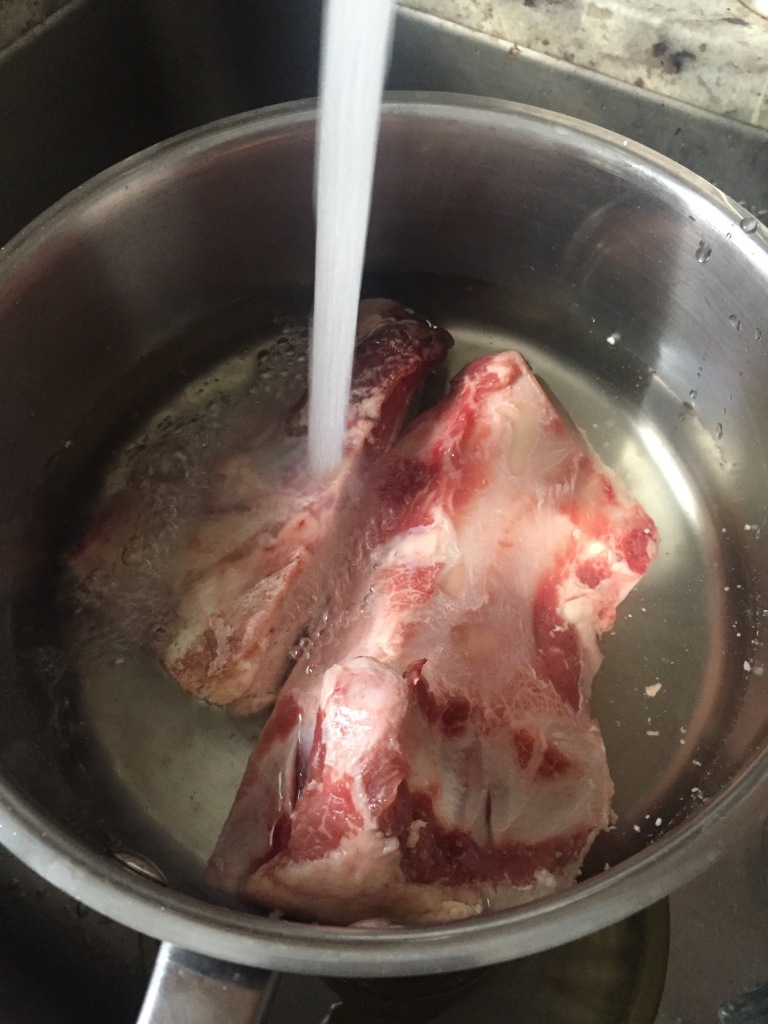
This step is important and often skipped. Blanching the bones removes any impurities that you will find in your bones. Just add them to a pot of cold water and bring it to a boil. Reduce the heat and simmer for about 20 minutes. You’ll start to notice some gunk floating to the top, you can skim this out as you simmer. This is why we blanch our bones! You don’t want that in your broth. After 20 minutes, drain the water and rinse your bones for step 3.
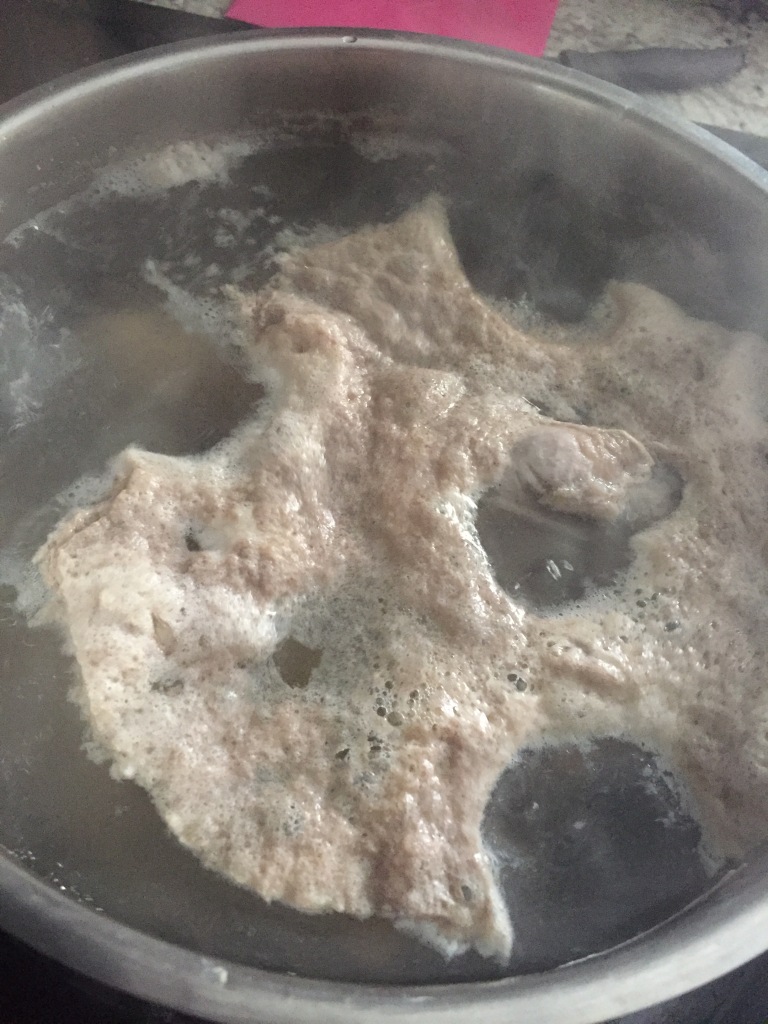
^^That’s the junk you don’t want making its way into your broth
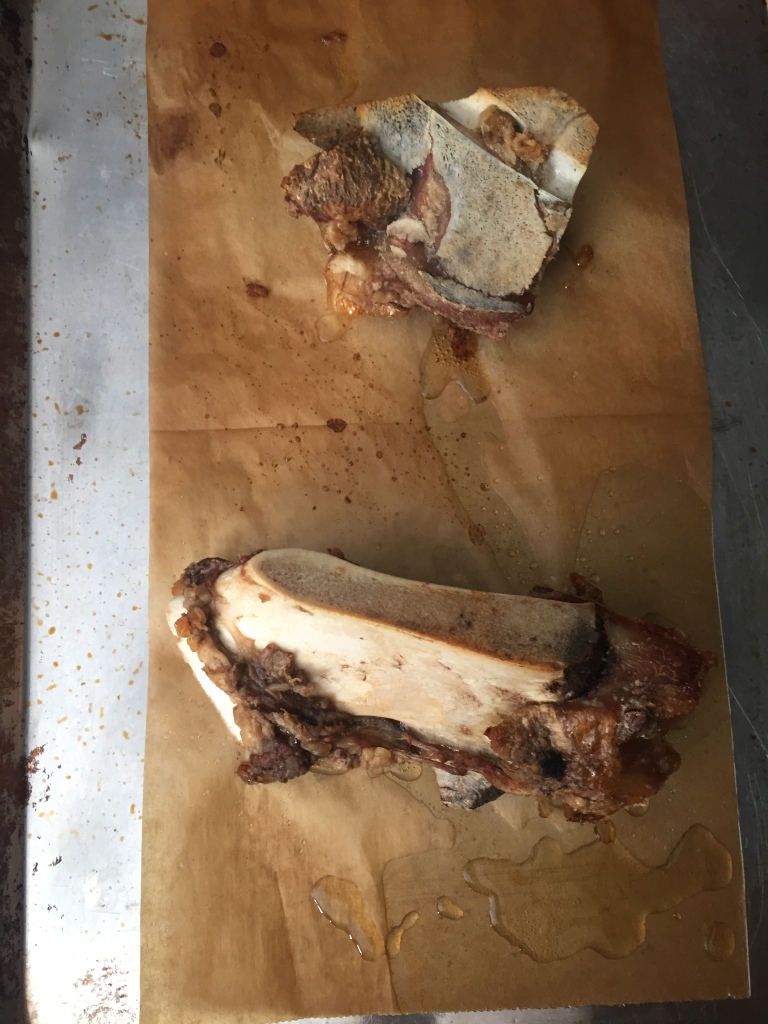
Step 3: Roasting your bones
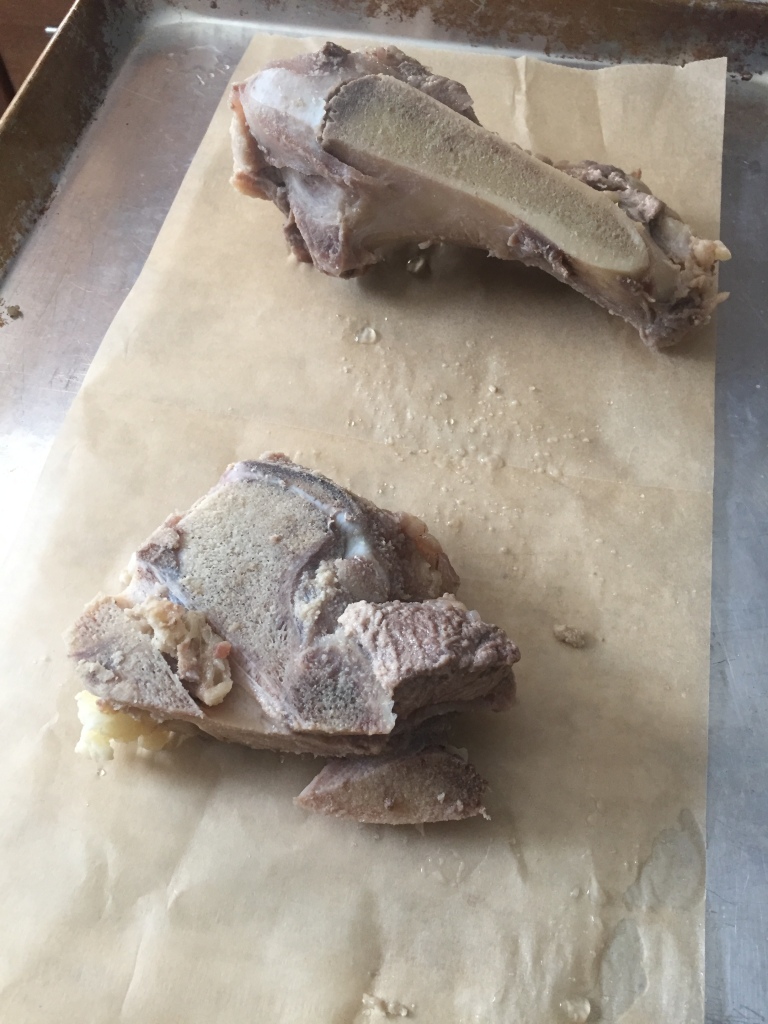
Once your bones have been properly blanched, the next step is to roast em! Heat your oven to 450 degrees, put your bones on a parchment lined baking sheet (preferably with sides), and roast for about 30 minutes. They will get extra crispy and SUPER flavorful making this step one you do not want to miss! After removing the bones from your oven, add them to the stock pot or crock pot along with any cooked out juices or crumbly bits. On to step 4!
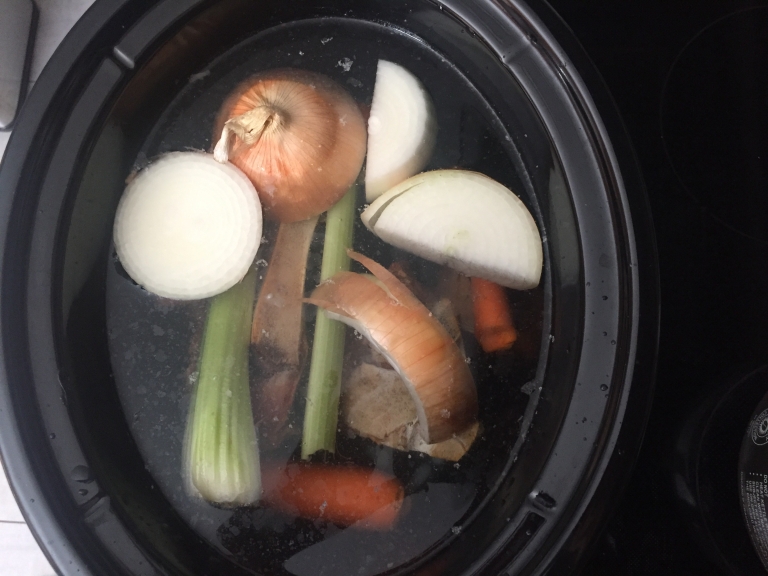
Step 4: Cooking down the broth
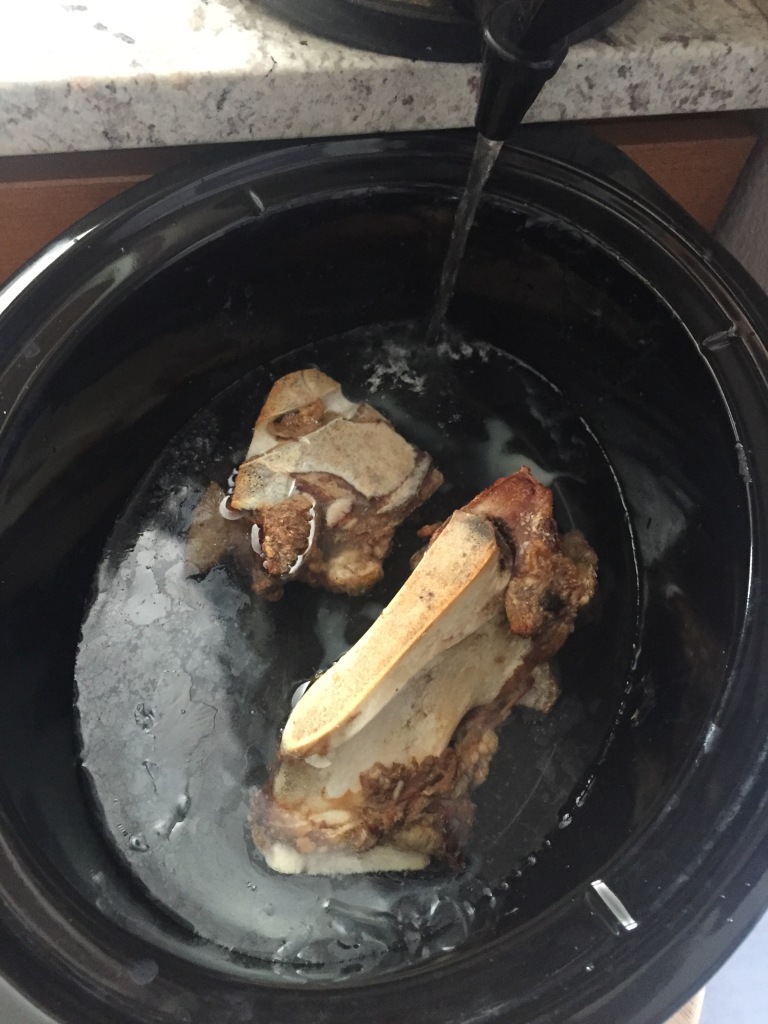
SO – once your bones are in your pot, you can choose to add flavor enhancing items such as onion, carrots, celery, peppercorn etc. I like to save the garlic/ginger/turmeric for the last couple hours of cooking. You can also choose to not flavor the broth at all. Regardless of what you choose, your next mission is to cover the bones with fresh filtered water. Not too much! Just enough so that they are submerged. They shouldn’t be floating around. You’ll then crank up the heat, bring your broth to a boil, then reduce heat to a low simmer and let it go for as long as you can stand it! Depending on bone size, this time will vary. For bigger thicker beef bones, you can cook the bones for 36-48 hours. For smaller chicken bones, they’ll begin to disintegrate after too much time has passed. So just keep an eye on it. As I said, I like to add extra flavorings in the last hour or so of cooking. At this time I also like to add in my salt and apple cider vinegar. You can add salt to taste but I like about a tablespoon or so and 1-2tsp ACV.
Step 5: COOLING
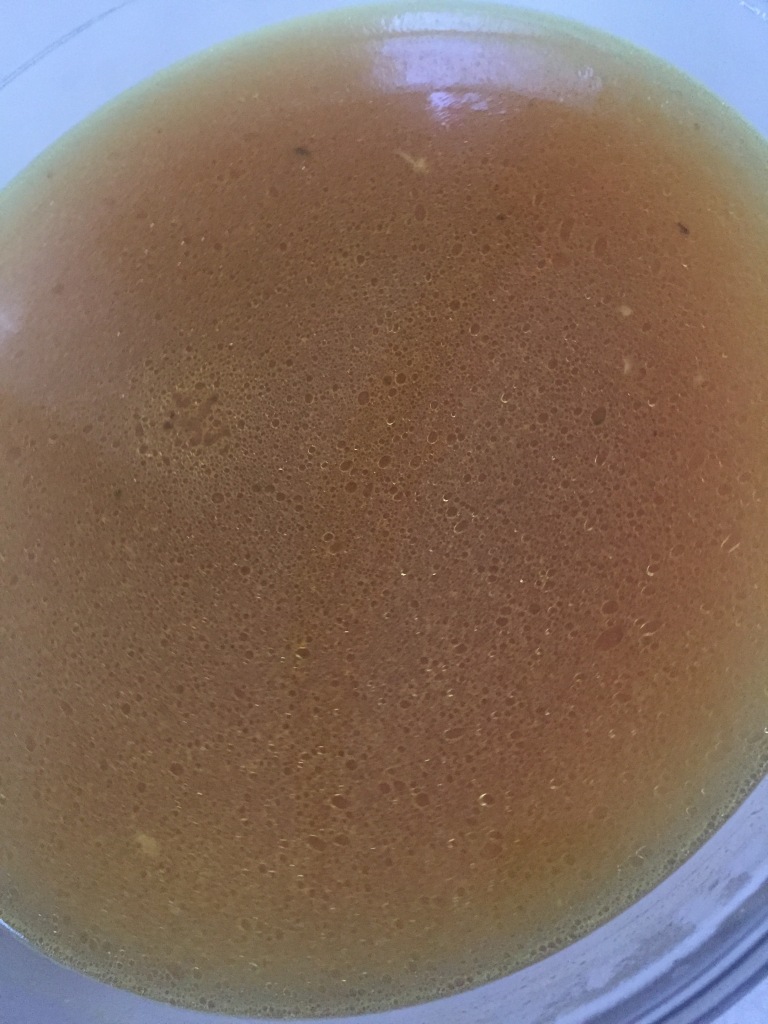
This is another crucial step. You need to cool your broth as quickly and efficiently as possible to prevent any bacteria from infesting your yummy batch of liquid gold. This can be done by straining broth into a shallow wide bowl and throwing in an ice cube or two to help cool the broth quickly. After broth is cooled to a warm temp, you can add it to jars and refrigerate! If you aren’t going to use it right away, you can choose to freeze some. A lot of people also like to add it to ice trays so they can pop out single whenever they’re ready to use them in cooking. I like to sip mine and use it in cooking sometimes. So choose whatever make you tick! As your broth cools, you’ll notice it begins to coagulate and make a jelly-like substance. THIS IS EXCELLENT! This is a sign of good, collagen-rich bone broth. Yummy to our tummy!
So enjoy experimenting with your bone broth! Try out different flavors, try out no flavors, and try different types of bones.


